-
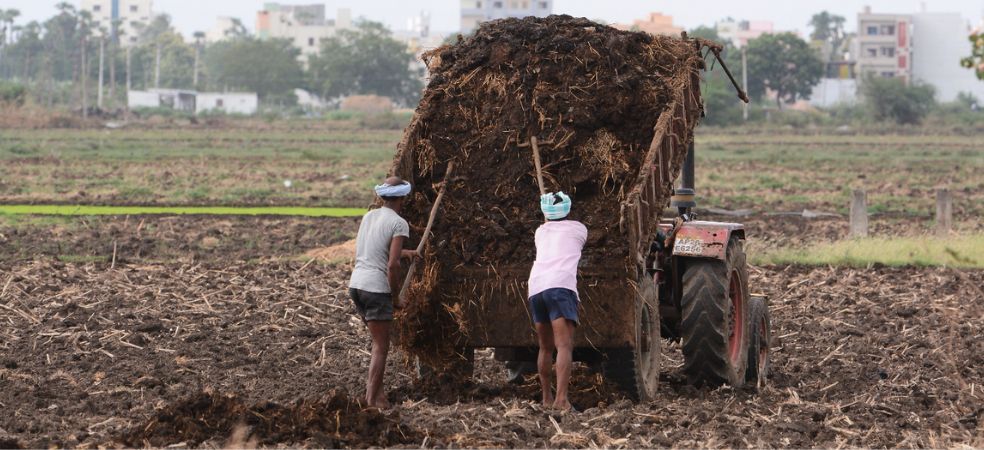
After harvesting Rabi crops, deep ploughing, soil solarization, soil testing etc. is very beneficial in the summer season when the field remains empty.
-
Deep ploughing – To get a higher yield from the next crop, it is beneficial to keep the field vacant during the summer season by doing deep ploughing immediately after harvesting of Rabi crop. Summer ploughing is done from April to June, as far as possible, farmers should do summer ploughing with a cultivator/ plough immediately after harvesting of Rabi crop.
-
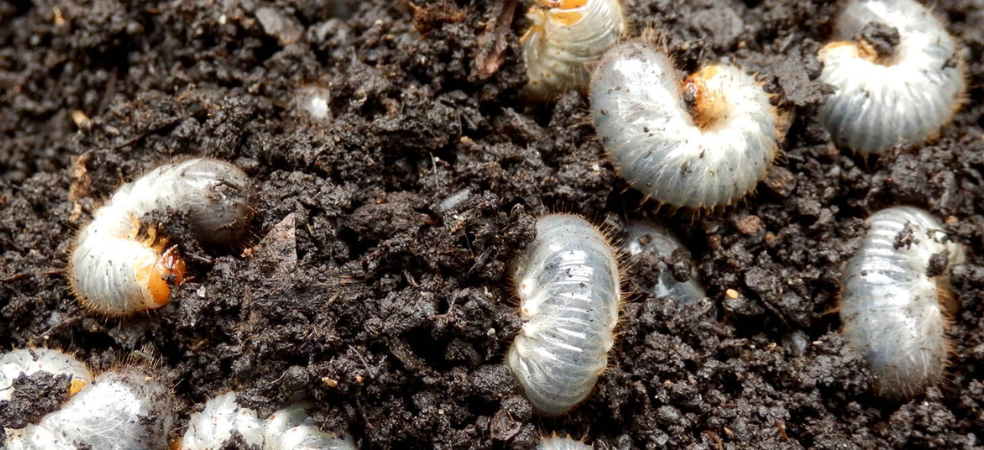
Soil solarization- For this, spread a sheet of polythene on the surface of the soil. Due to this, the temperature under the layer increases greatly due to the heat of the soil, due to which the germs of diseases, unnecessary seeds, eggs of insects and moths, etc., are all destroyed. For soil solarization, the best time is from 15 April to 15 May.
-
Soil test- After harvesting the soil must be tested. Soil testing determines soil pH, electrical conductivity, organic carbon as well as deficiencies of major and micronutrients that can be improved over time.
ShareWith the sowing of the crop, connect your farm with the Gramophone app and keep on getting the exact advice and solutions related to smart agriculture throughout the crop cycle. Share this article with your friends with the share button below.